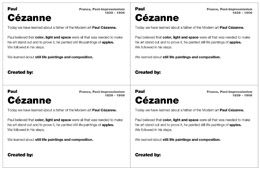
Paul Cézanne & Still life
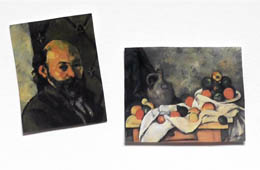
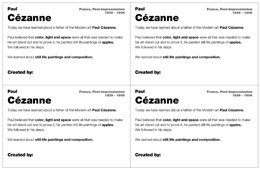
Enjoy the season with Paul Cézanne and his still life paintings. Learn why he painted apples for over 30 years and why it took so long for art critics to appreciate them. Create your own still life with apples, pumpkin and squashes.
Discover how oil blends oil pastels and hairspray makes chalk pastels stick to the paper. Play around with composition and use a flashlight to shine some light on your art while you learn about highlights and shadows. Transfer your art using wet media film and test how observant you are.
Conduct a taste test, pay homage to famous artists with John Nolan and, most of all, enjoy the fall!
Videos and useful links
Featured art projects
K-2
Oil blended still life
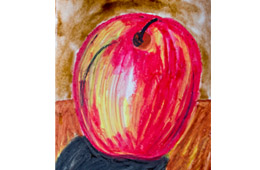
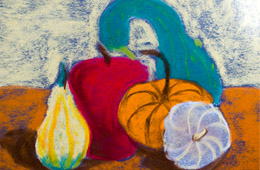
Kids will create simple still life paintings in oil pastels and blend them using oil.
TIPS and TRICKS
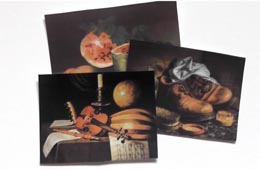
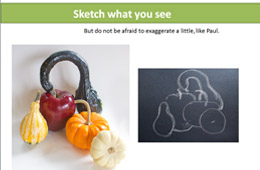
Start with the presentation. Then place 1-3 objects on the kids tables and talk about the composition. Let them arrange them in any way they like and make sure they understand the still life will look differently to each person at the table, depending on where they sit.
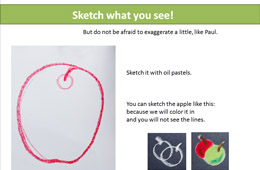
Get your oil pastels and a watercolor paper ready. Ask the kids to take one color (red for a red apple, orange for a pumpkin) and to sketch what they see. Ask them to make start with the object in the foreground and to make it big. Then show them how they can sketch something behind this object – the lines can overlap (it will not be visible later).
Once they sketched their still life, ask them to color it in. Do not use just one color. An apple can be red, yellow, green and orange. Combine all of the colors. The object does not have to be 100% covered (about 80-90% is great). The important thing is to make the colors bold. Remind the kids to hold the pastels low and press down hard when they color.
When they are done, give them a little bit of oil in a cup and some q-tips (I like putting the small cups on a paper plate to prevent spills). Show the kids how to dip the q-tip in oil and then slowly go over the pastels. They will be amazed how easily they blend. Tell the kids to use long, wide strokes (from top to bottom) and to change their q-tips often so that they do not mess up their colors.
When they are done, you can either cut out the pictures and glue them onto a black paper or use watercolors for the background. The watercolors are very easy since they do not stick to the oil pastels and kids do not have to be super careful not to paint over them. If they do, just use a crumbled paper napkin to pick up the paint. If you want more texture, you can use the paper towel to pick up the paint all over the painting – it adds interest and hides small mistakes and brushstrokes.
List of MATERIALS
- Apples, pumpkins, squashes
- Oil pastels
- Watercolor paper
- Baby oil (or olive oil)
- Q-tips and
- Small cup
- Large brush
- Watercolors
3-5
Squashes on black
Kids will create a still life painting with apples, squashes and pumpkins in chalk pastels on black paper.
TIPS and TRICKS
Start with the presentation. Then place 3 or 5 objects on the kids’ tables (composition works better with odd numbers) and talk about the composition – background, middle ground and background. Let the kids arrange the objects in any way they like and make sure they understand the still life will look differently to each person at the table, depending on where they sit.
Then give them a black piece of paper and some chalk pastels and ask them to sketch what they see (using a light colored pastel). Show them how to draw overlapping objects and how to make sure they color the right one.
Then tell them to color each object with its dominant color (if the apple is green with a little bit of yellow and red, they will color it green). This will help them focus on the big shapes and composition without being too difficult or confusing. Then it is time for the details. They can fill in whatever details they want.
The last thing to do is the background. Kids can add a plate, tablecloth or just a table and a wall onto their painting. They use the pastel to shade the background if they are running out of time.
When they are done, spray their work with a hair spray and, if desired, glue it onto a large colorful piece of paper.
List of MATERIALS
- Squashes, apples and pumpkins
- Black paper
- Soft (chalk) pastels
- Hair spray
Recommended supplies
 |
 |
 |
 |
 |
 |
 |
 |


